-
Your shopping cart is empty!
MENU
- +
-
Windows & Doors
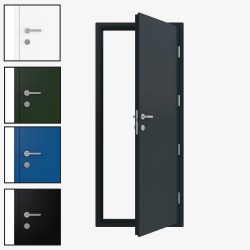
- Steel Personel External Doors
- High Security 9-Point Locking Doors
- Fire Exit Steel Doors
- Budget Steel Doors
- Adjustable Width/Height Doors
- PAS24 Secure By Design
- Fire Rated Doors
- Window/Vision Panels
- Shipping Container Doors
- Louvre Air Vents for Steel Doors
- Custom/Bespoke Sized Steel Doors
- Door Handles & Accessories
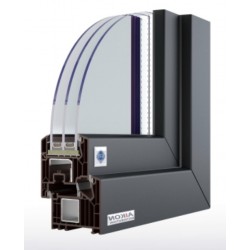
- UPVC Windows - Anthracite Grey
- UPVC Windows - Smooth White
-
MDF, Timber & Stairs
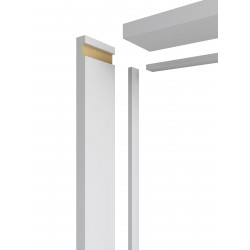
- FD30 Fire Rated Door Liners
- Standard MDF Door Frame Liners
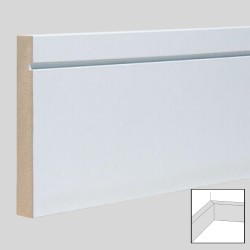
- MDF Skirting Board
- MDF Architrave
- Window Cil/Boards
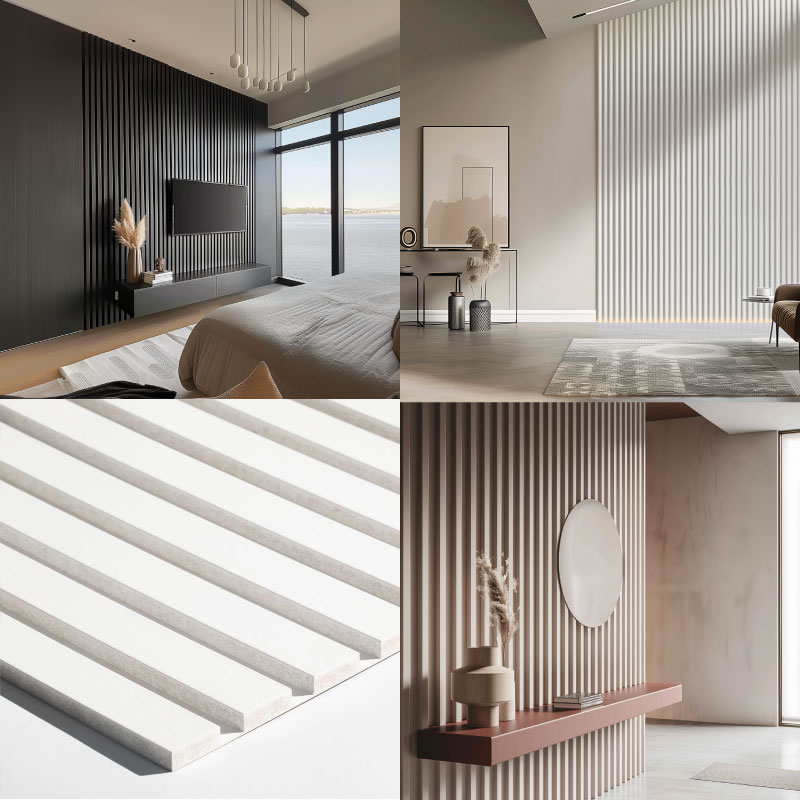
- MDF Wall Panelling
- Intumescent Strips for FD30
- Mono Stringer Custom Staircase
- Floating Bespoke Stairs
- ZigZag Custom Made Stairs
-
Tiling & Flooring
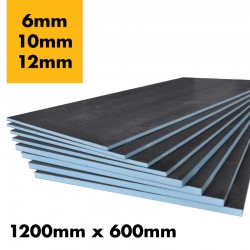
- 6mm Tile Backer Board
- 10mm Tile Backer Board
- 12mm Tile Backer Board
- Tile Board Washers
- Tile Backer BULK PALLETS
- SPC Vinyl Tile Click Flooring
- Herringbone Click Flooring
- Oak Effect Click Flooring
- Grey Vinyl Tile Flooring
- Shower Recess/Niche
- Tile Board Shower Tray
- Tile Backer Waterproof Membrane
- Tile Decoupling Matt
- Underfloor Heating Boards
- Flooring Samples
-
Decking & Garden
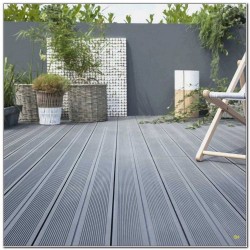
- Anthracite Grey Composite Decking
- Brown Composite Decking
- Wood Grain Composite Decking
- Decking by the Square Metre
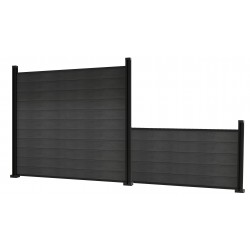
- Composite Fencing
- Tongue & Groove Fence Slats
- Fencing Posts
- Glass Balustrades
- Glass Balconies
- Frameless Glass Balustrade
- Spigot Glass Balustrade
- Stand Off Glass Balustrade
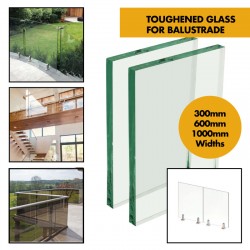
- Toughened Glass for Balustrades
-
Heating & Plumbing
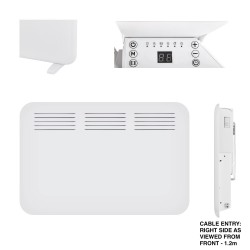
- 1kw/1000W Panel Heater
- 1.5kw/1500W Panel Heater
- 2kw/2000W Panel Heater
- LOT20 Electric Panel Heaters
- Wall Mount Electric Panel Heaters
- Freestanding Electric Panel Heaters
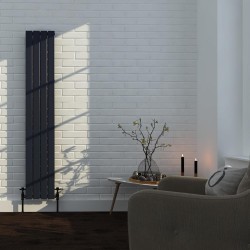
- Vertical Radiators
- Anthracite Grey Radiators
- White Vertical Radiators
-
All Products
+

-main-250x250.jpg)


Leave a Comment